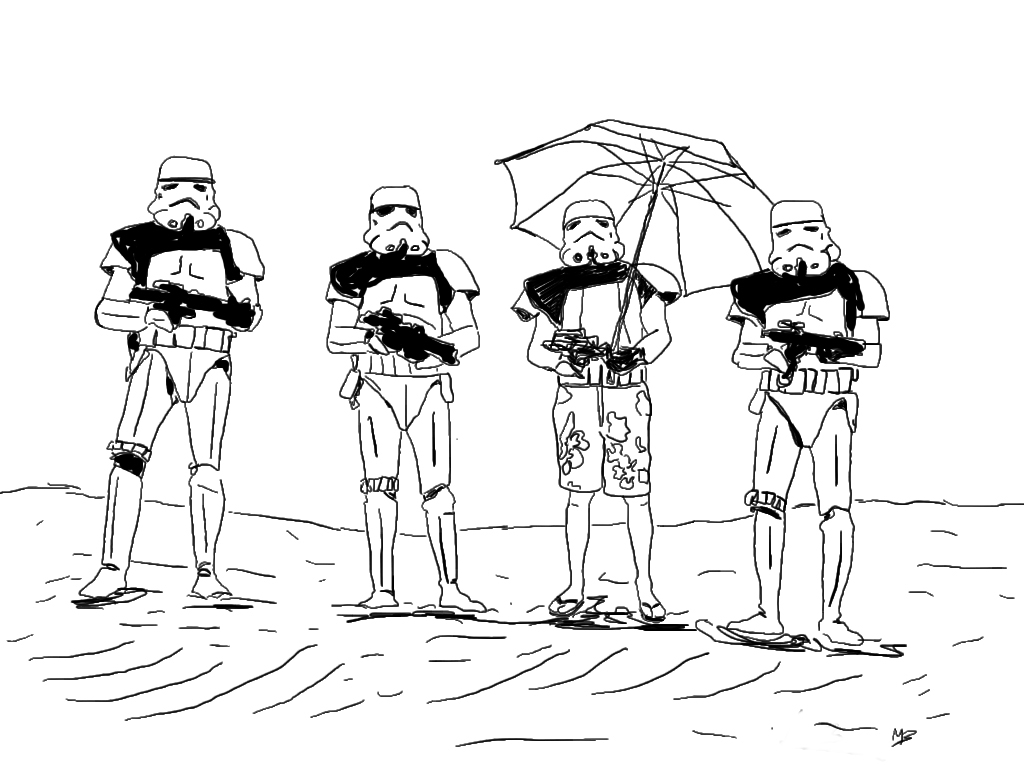
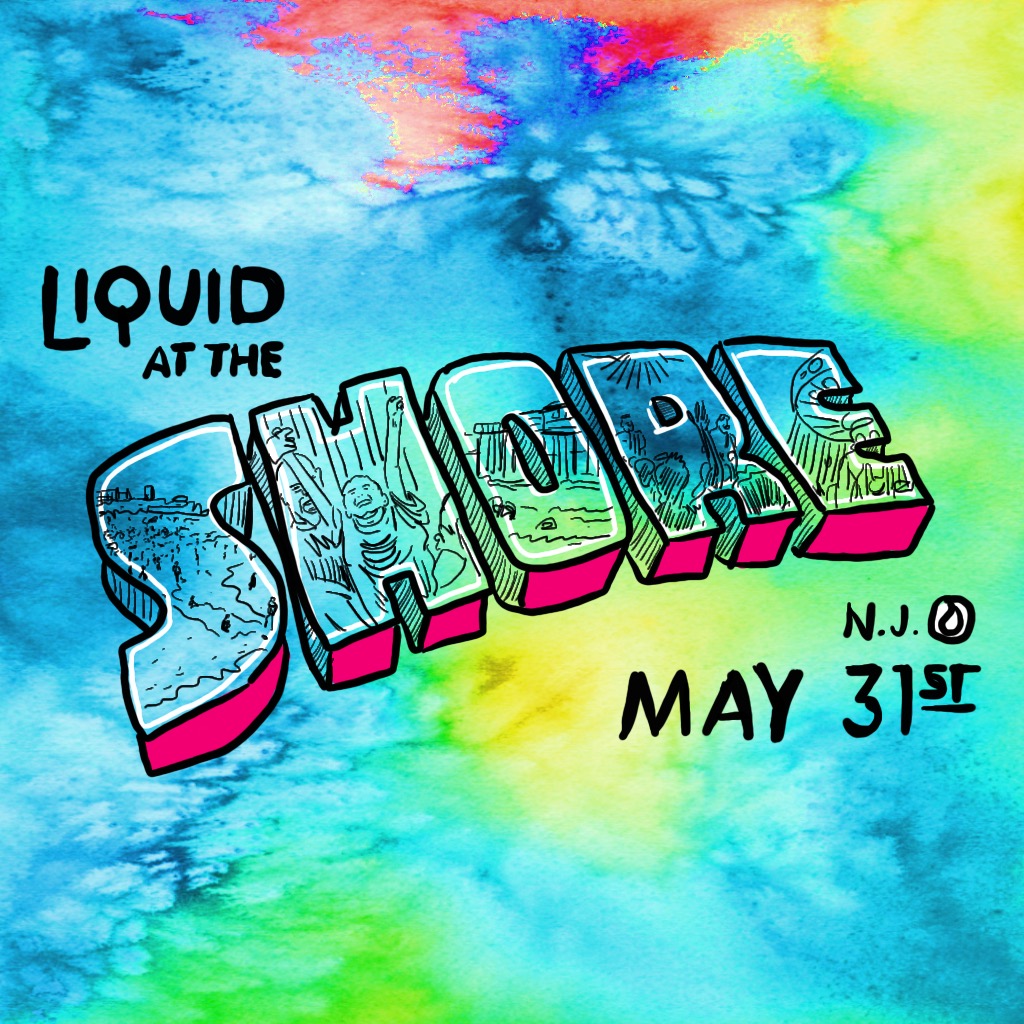


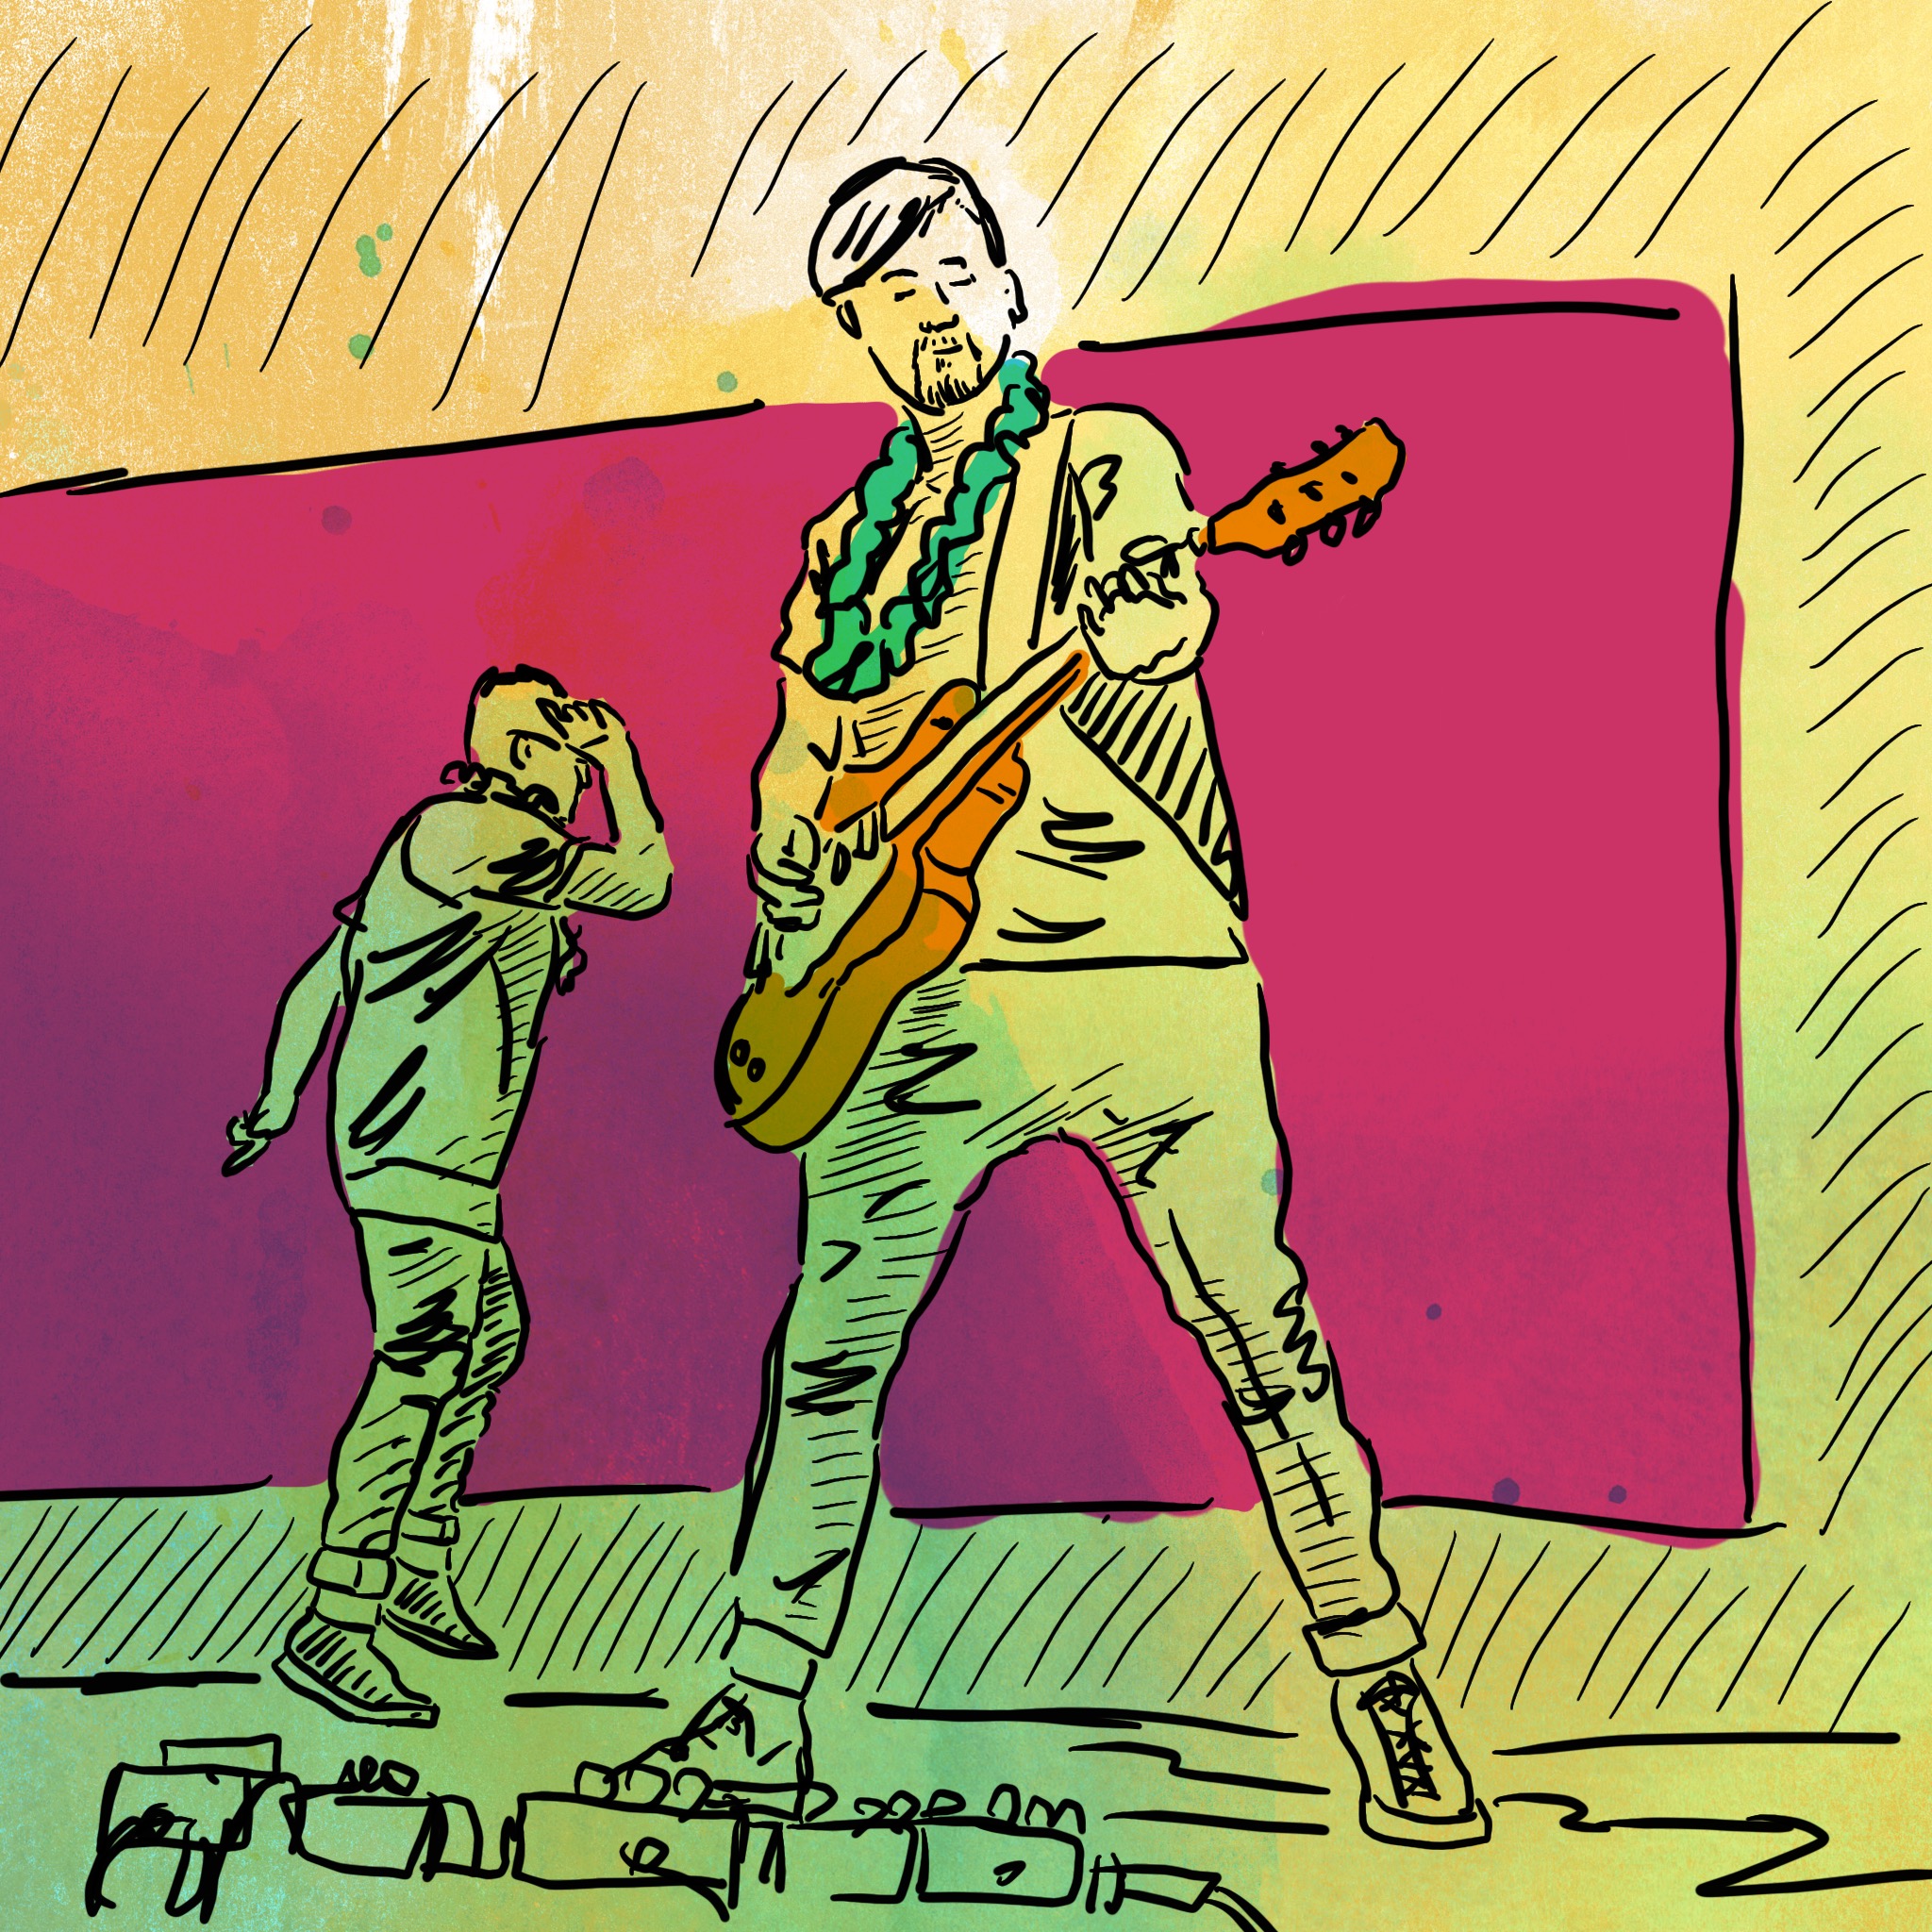
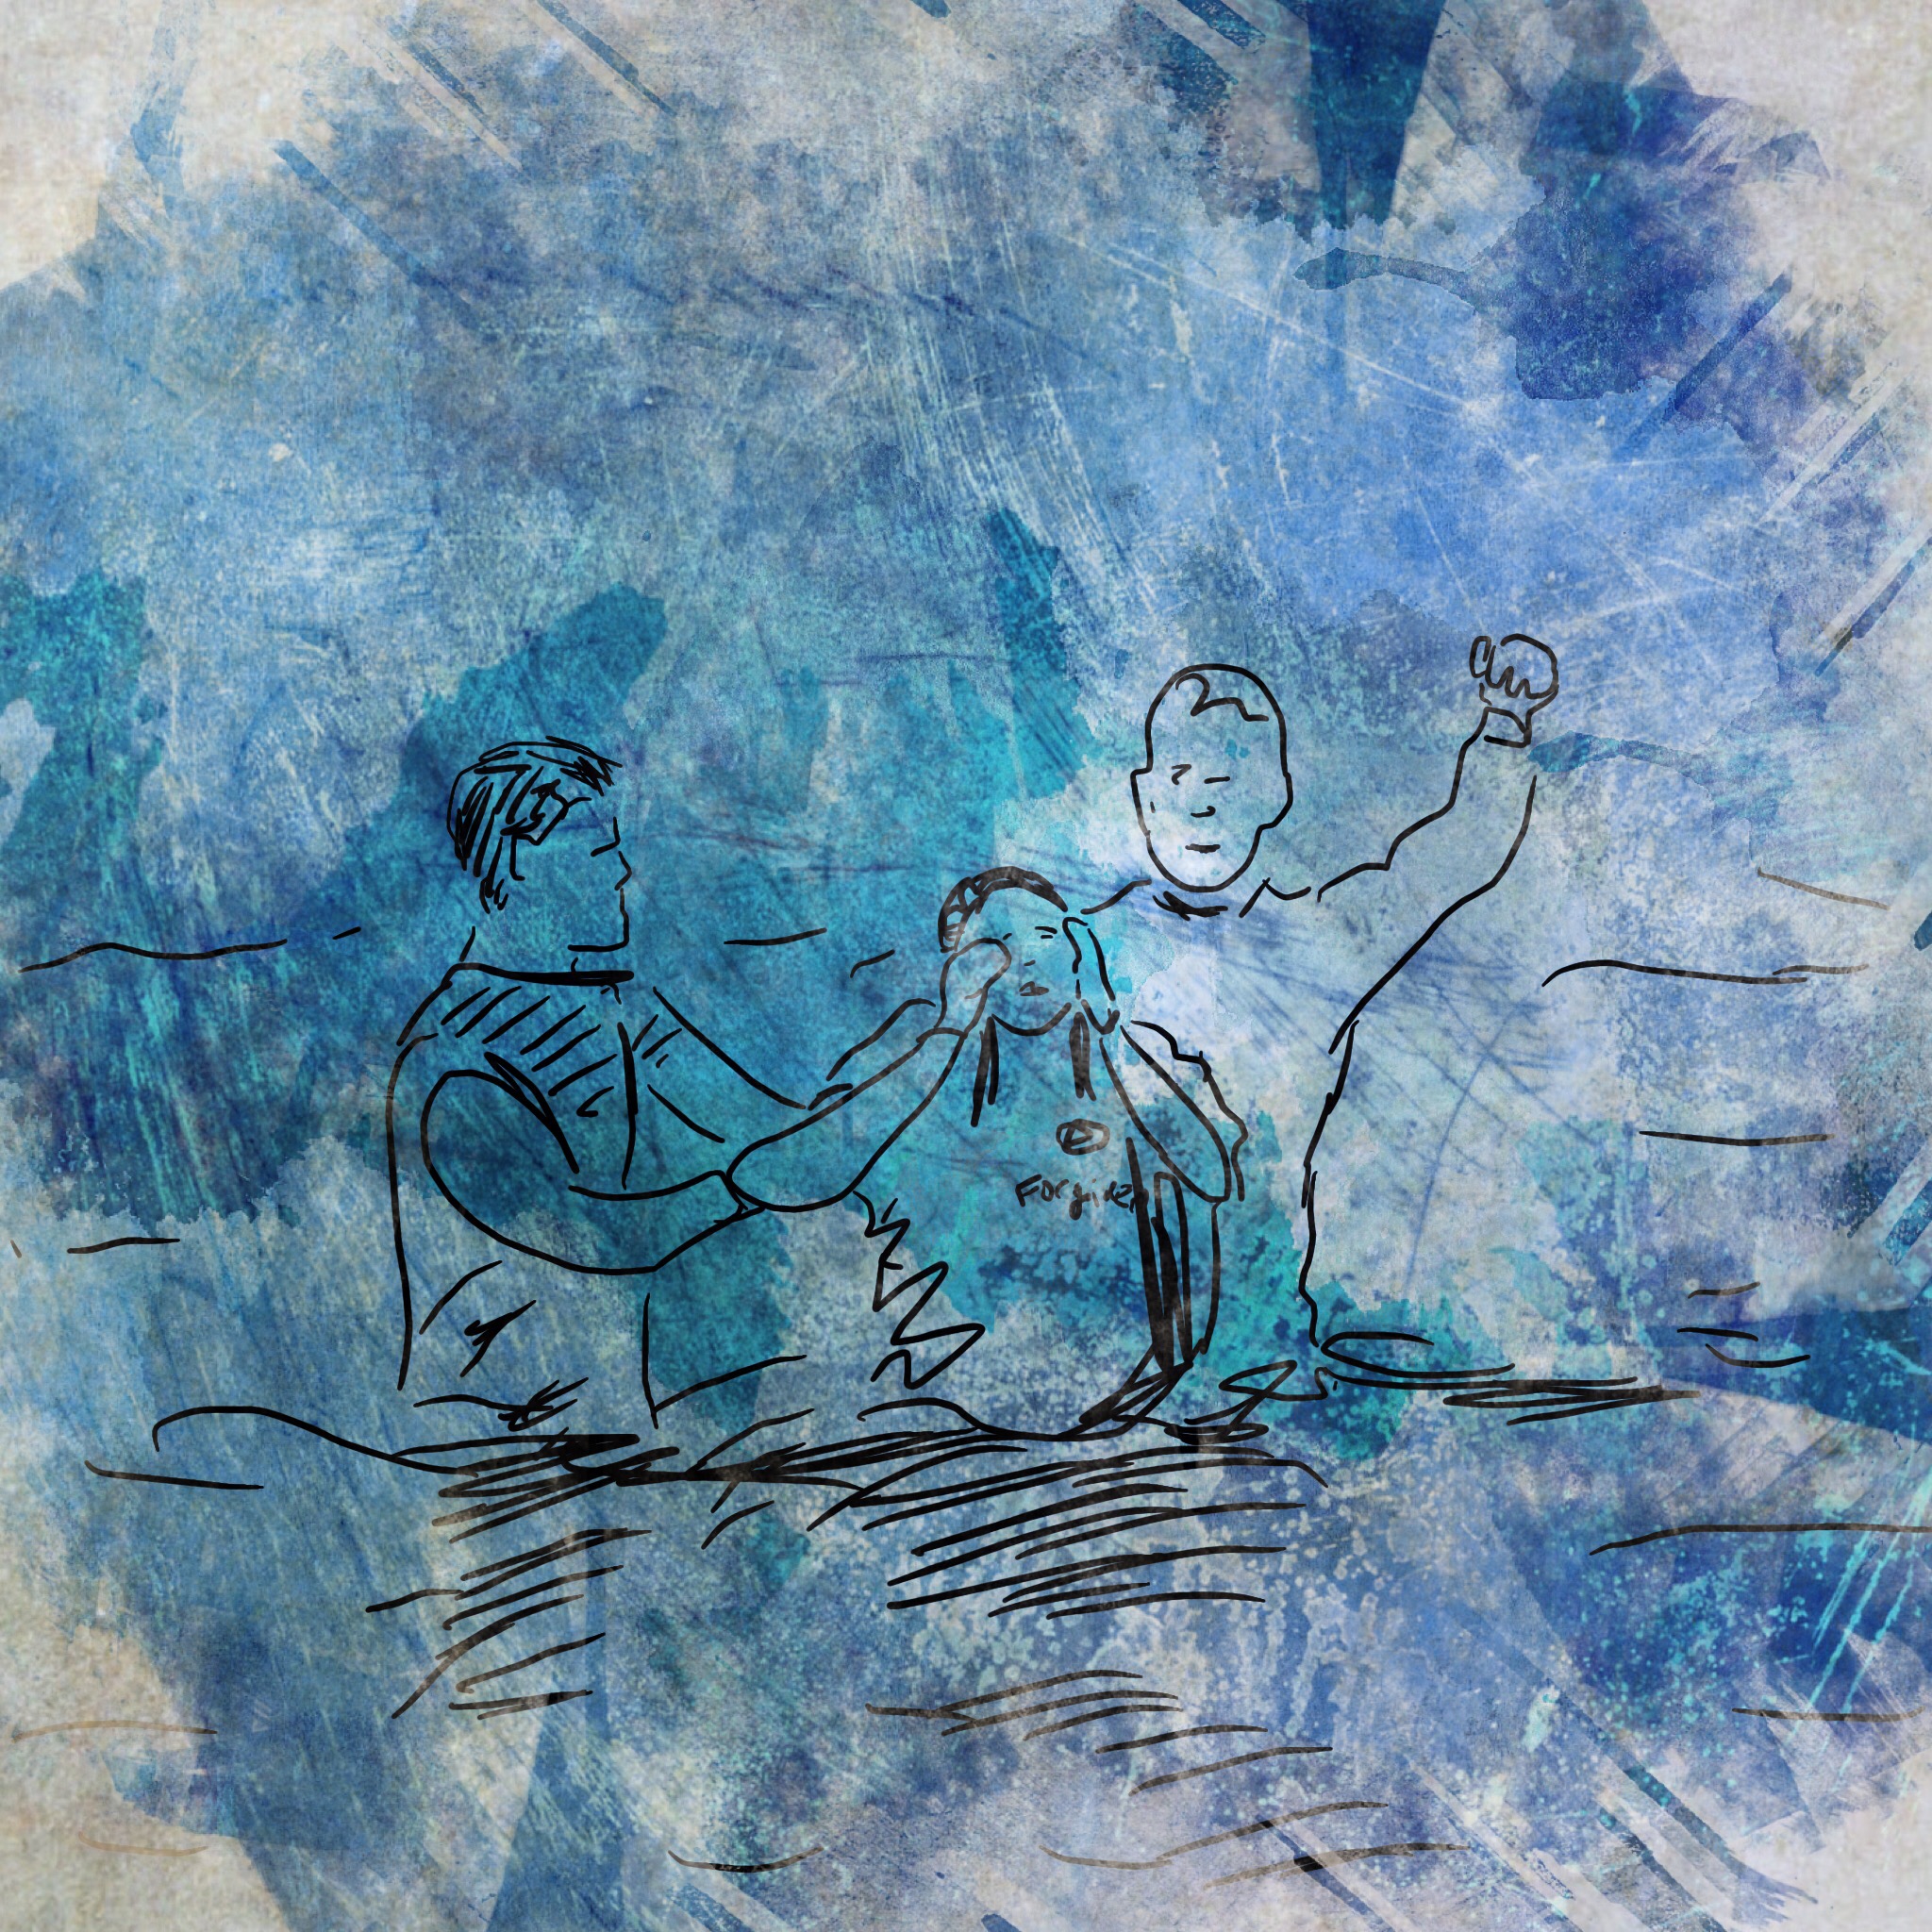


On Sunday, May 31st, I was live sketching the Liquid at the Shore event from start to finish. This was a historic event with over 4,000 people in attendance, so it was a great opportunity to try to capture the day in a new way. (Click through the images above).
What exactly is "live sketching"? I documented the happenings of the day as i saw and experienced them. My choice of tools for the day were my trusty iPad, Pencil stylus, and the apps Skectchclub, Picfx and Snapseed.
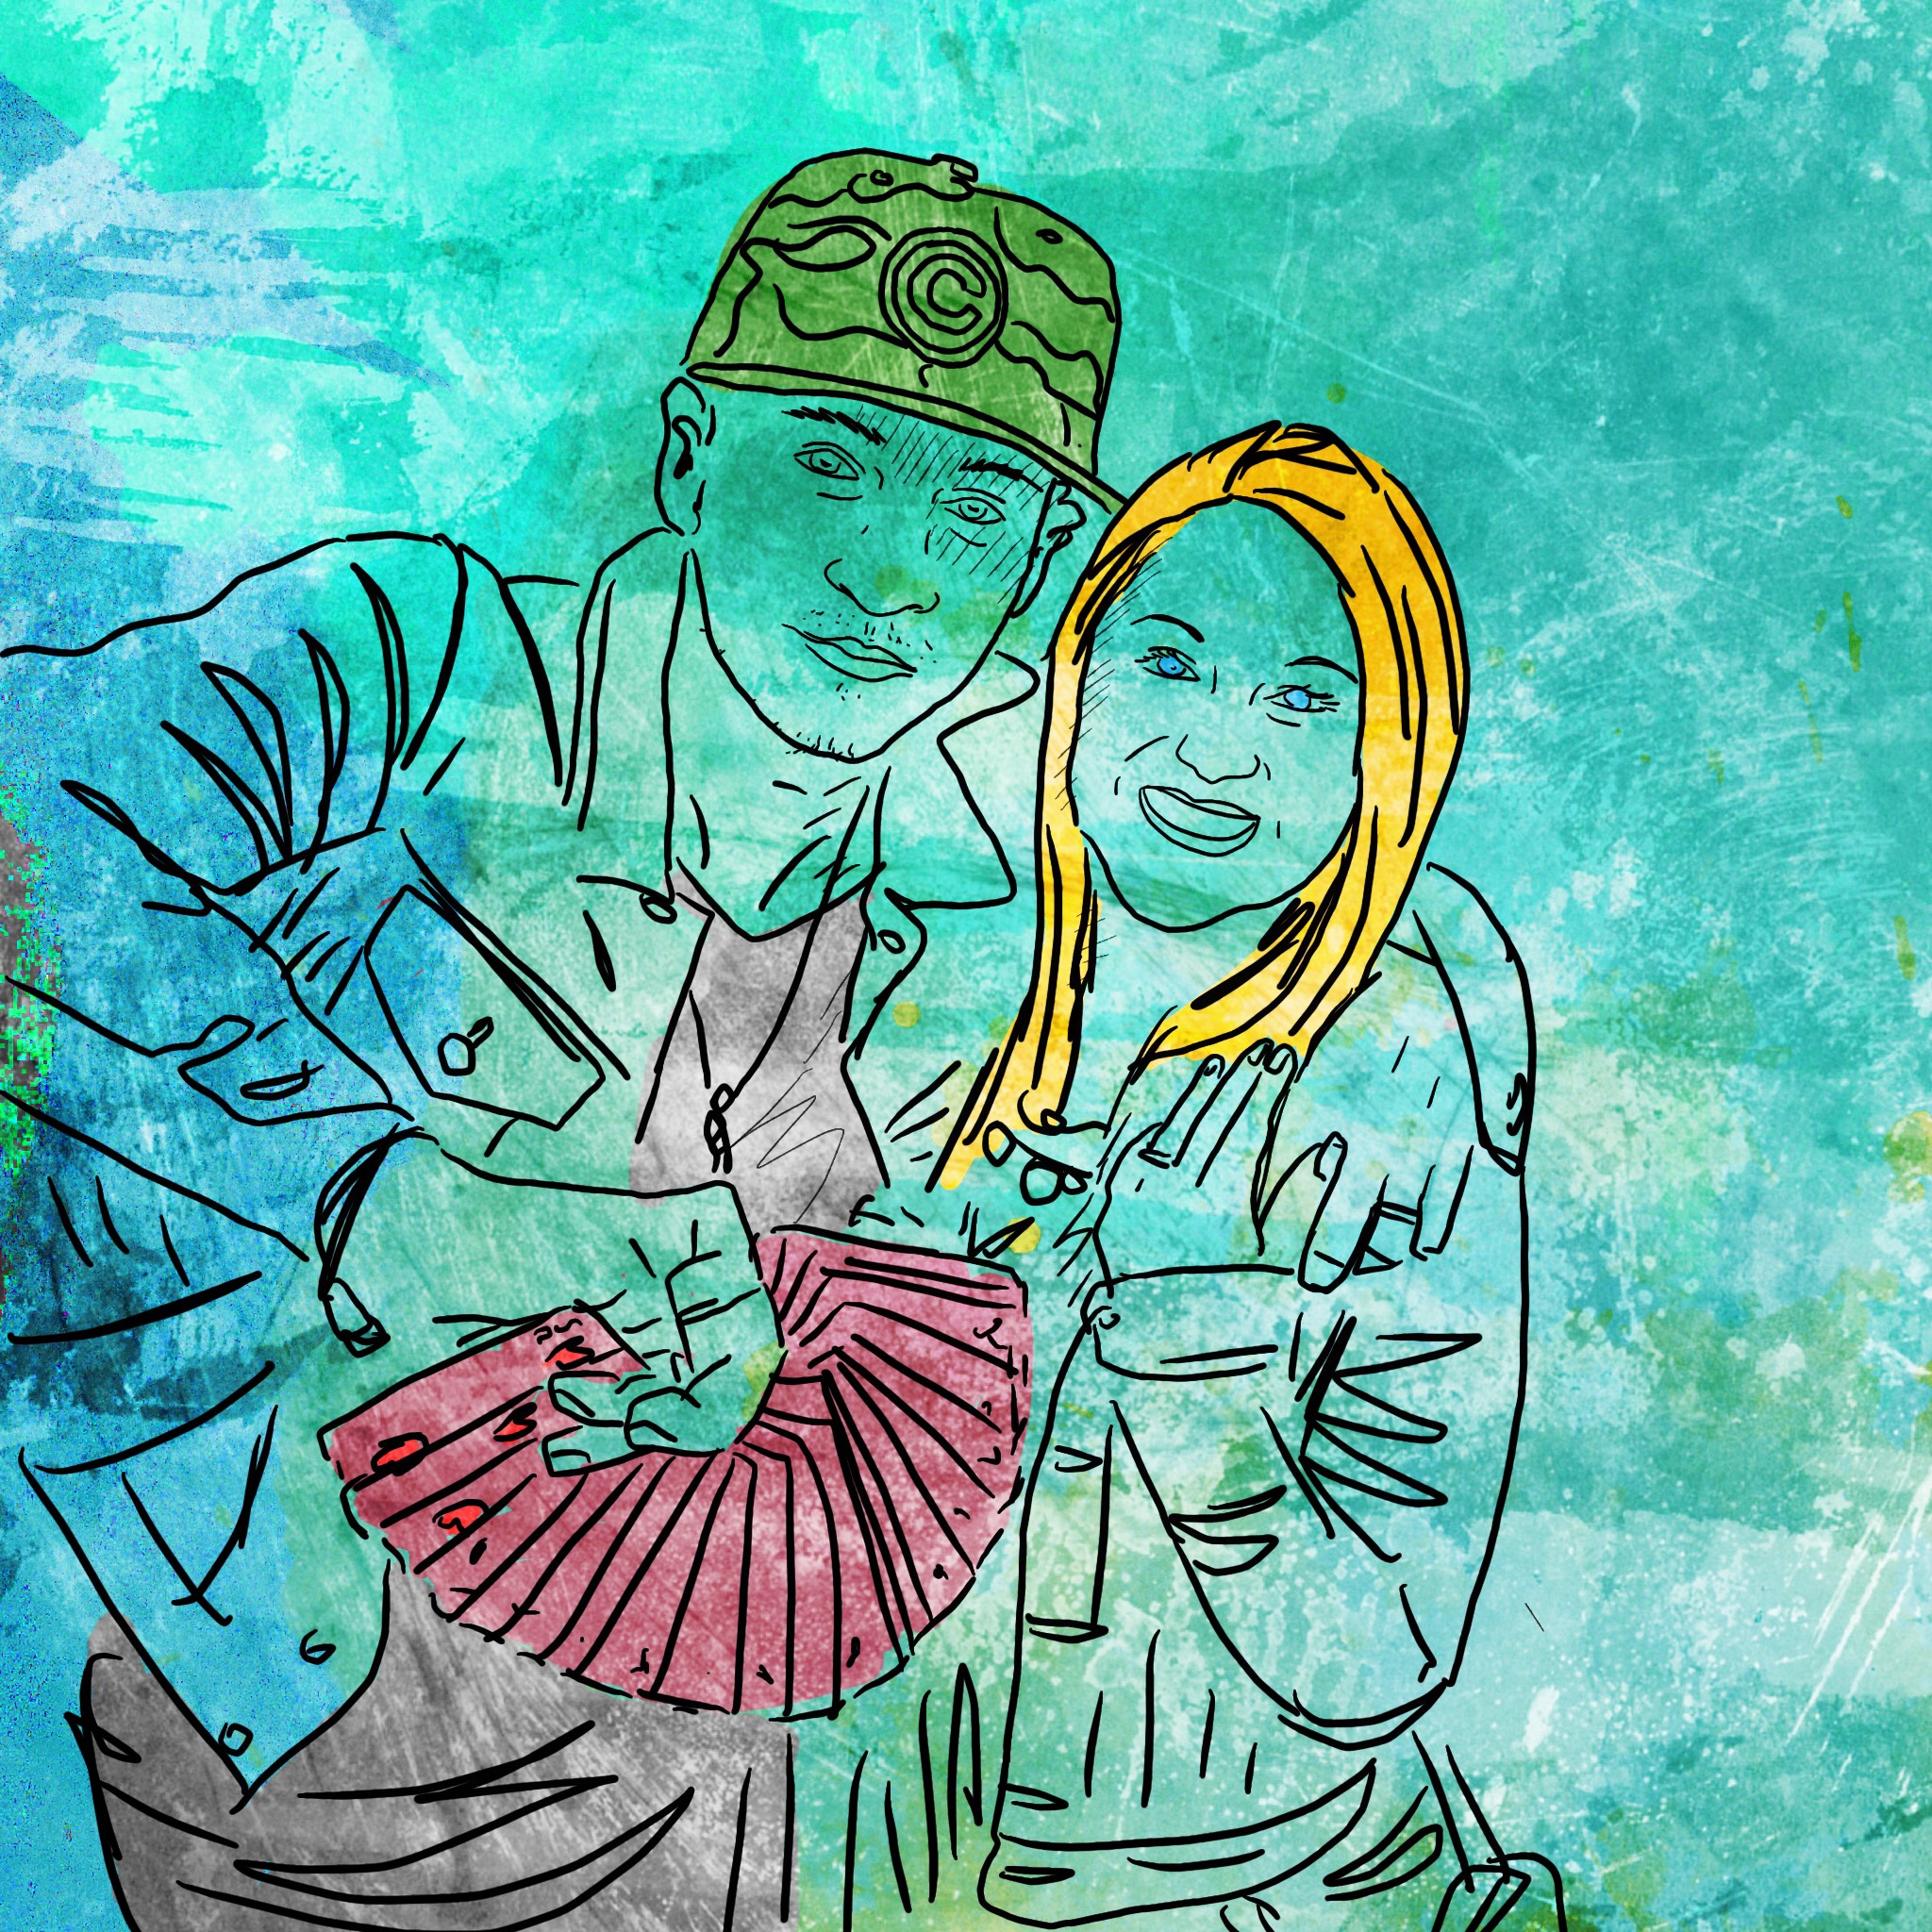
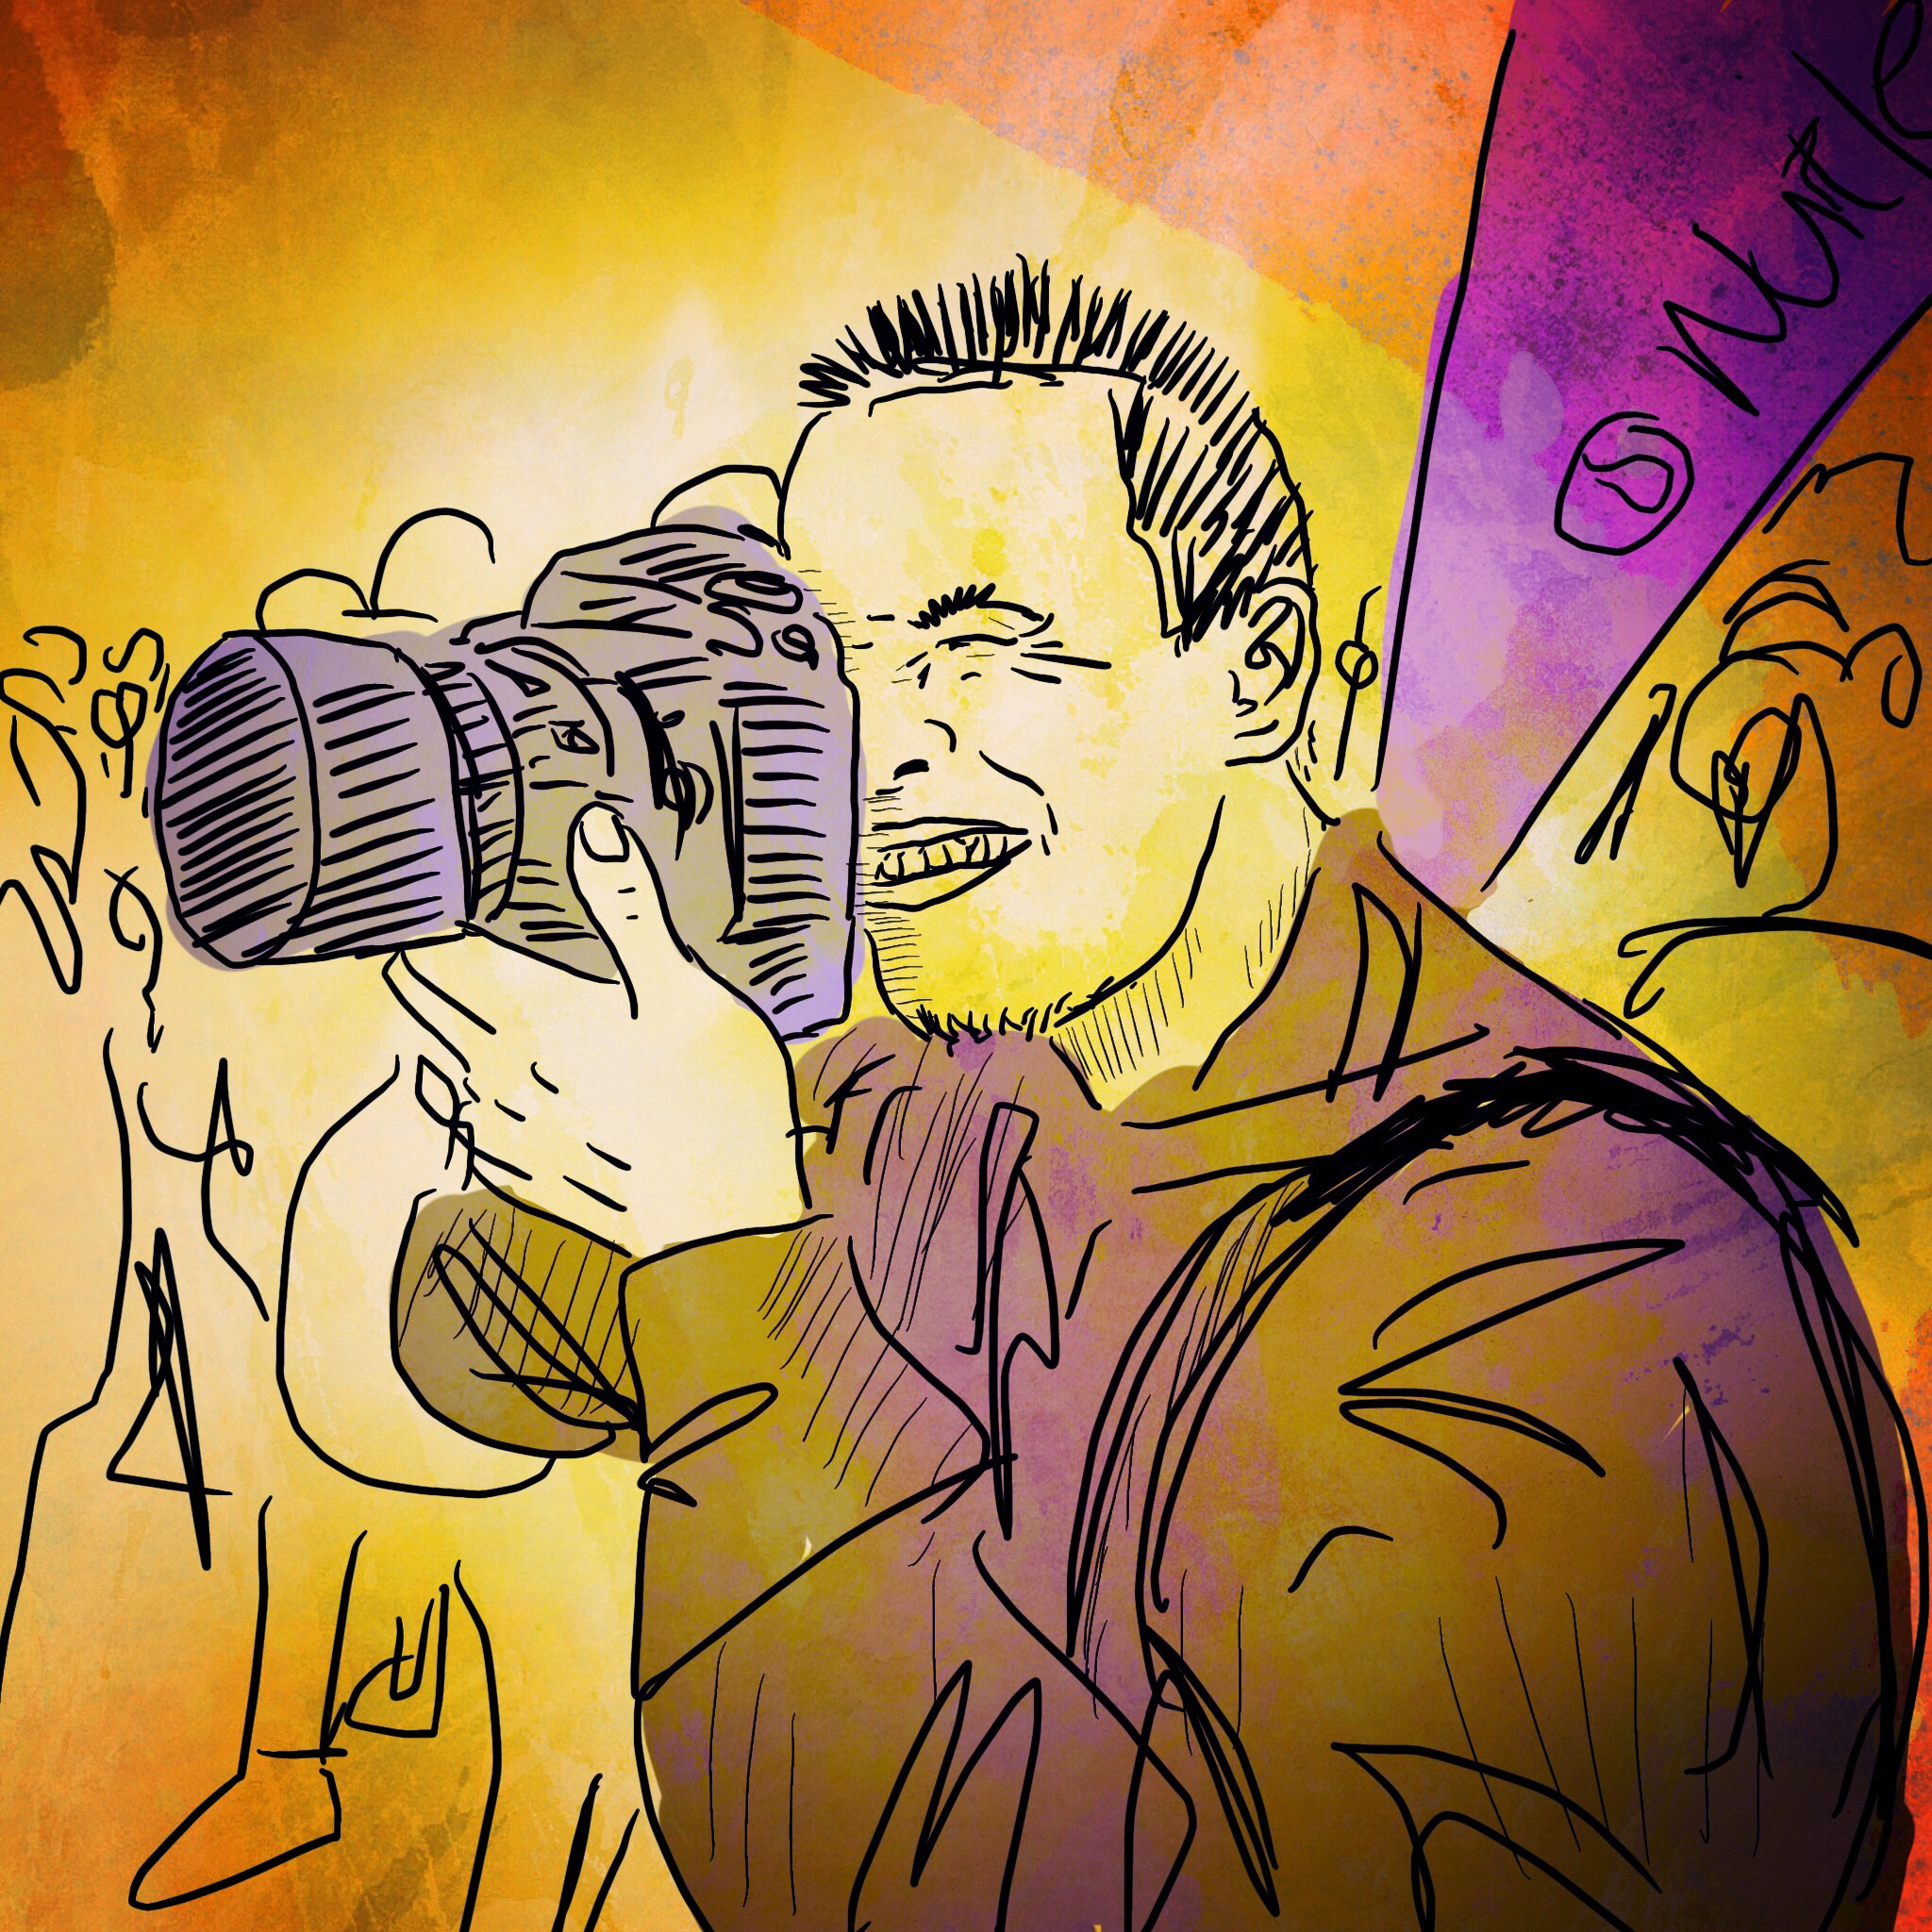
I roamed around looking for the iconic snapshots of the day. For example, we had magician Justin Flom come and perform, so I captured a moment with he and his lovely wife Jocelynn.
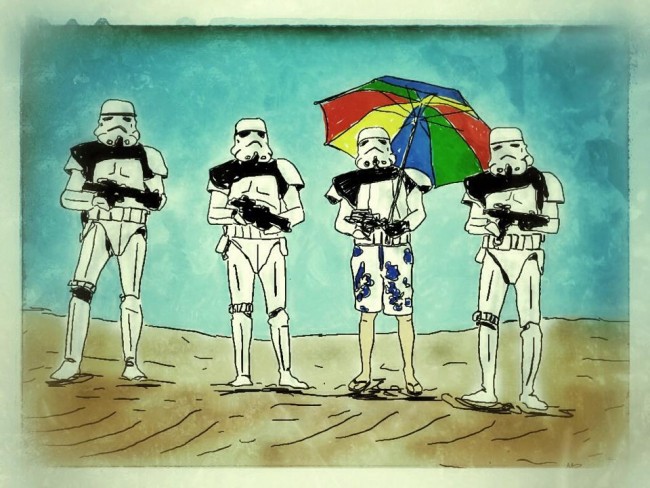
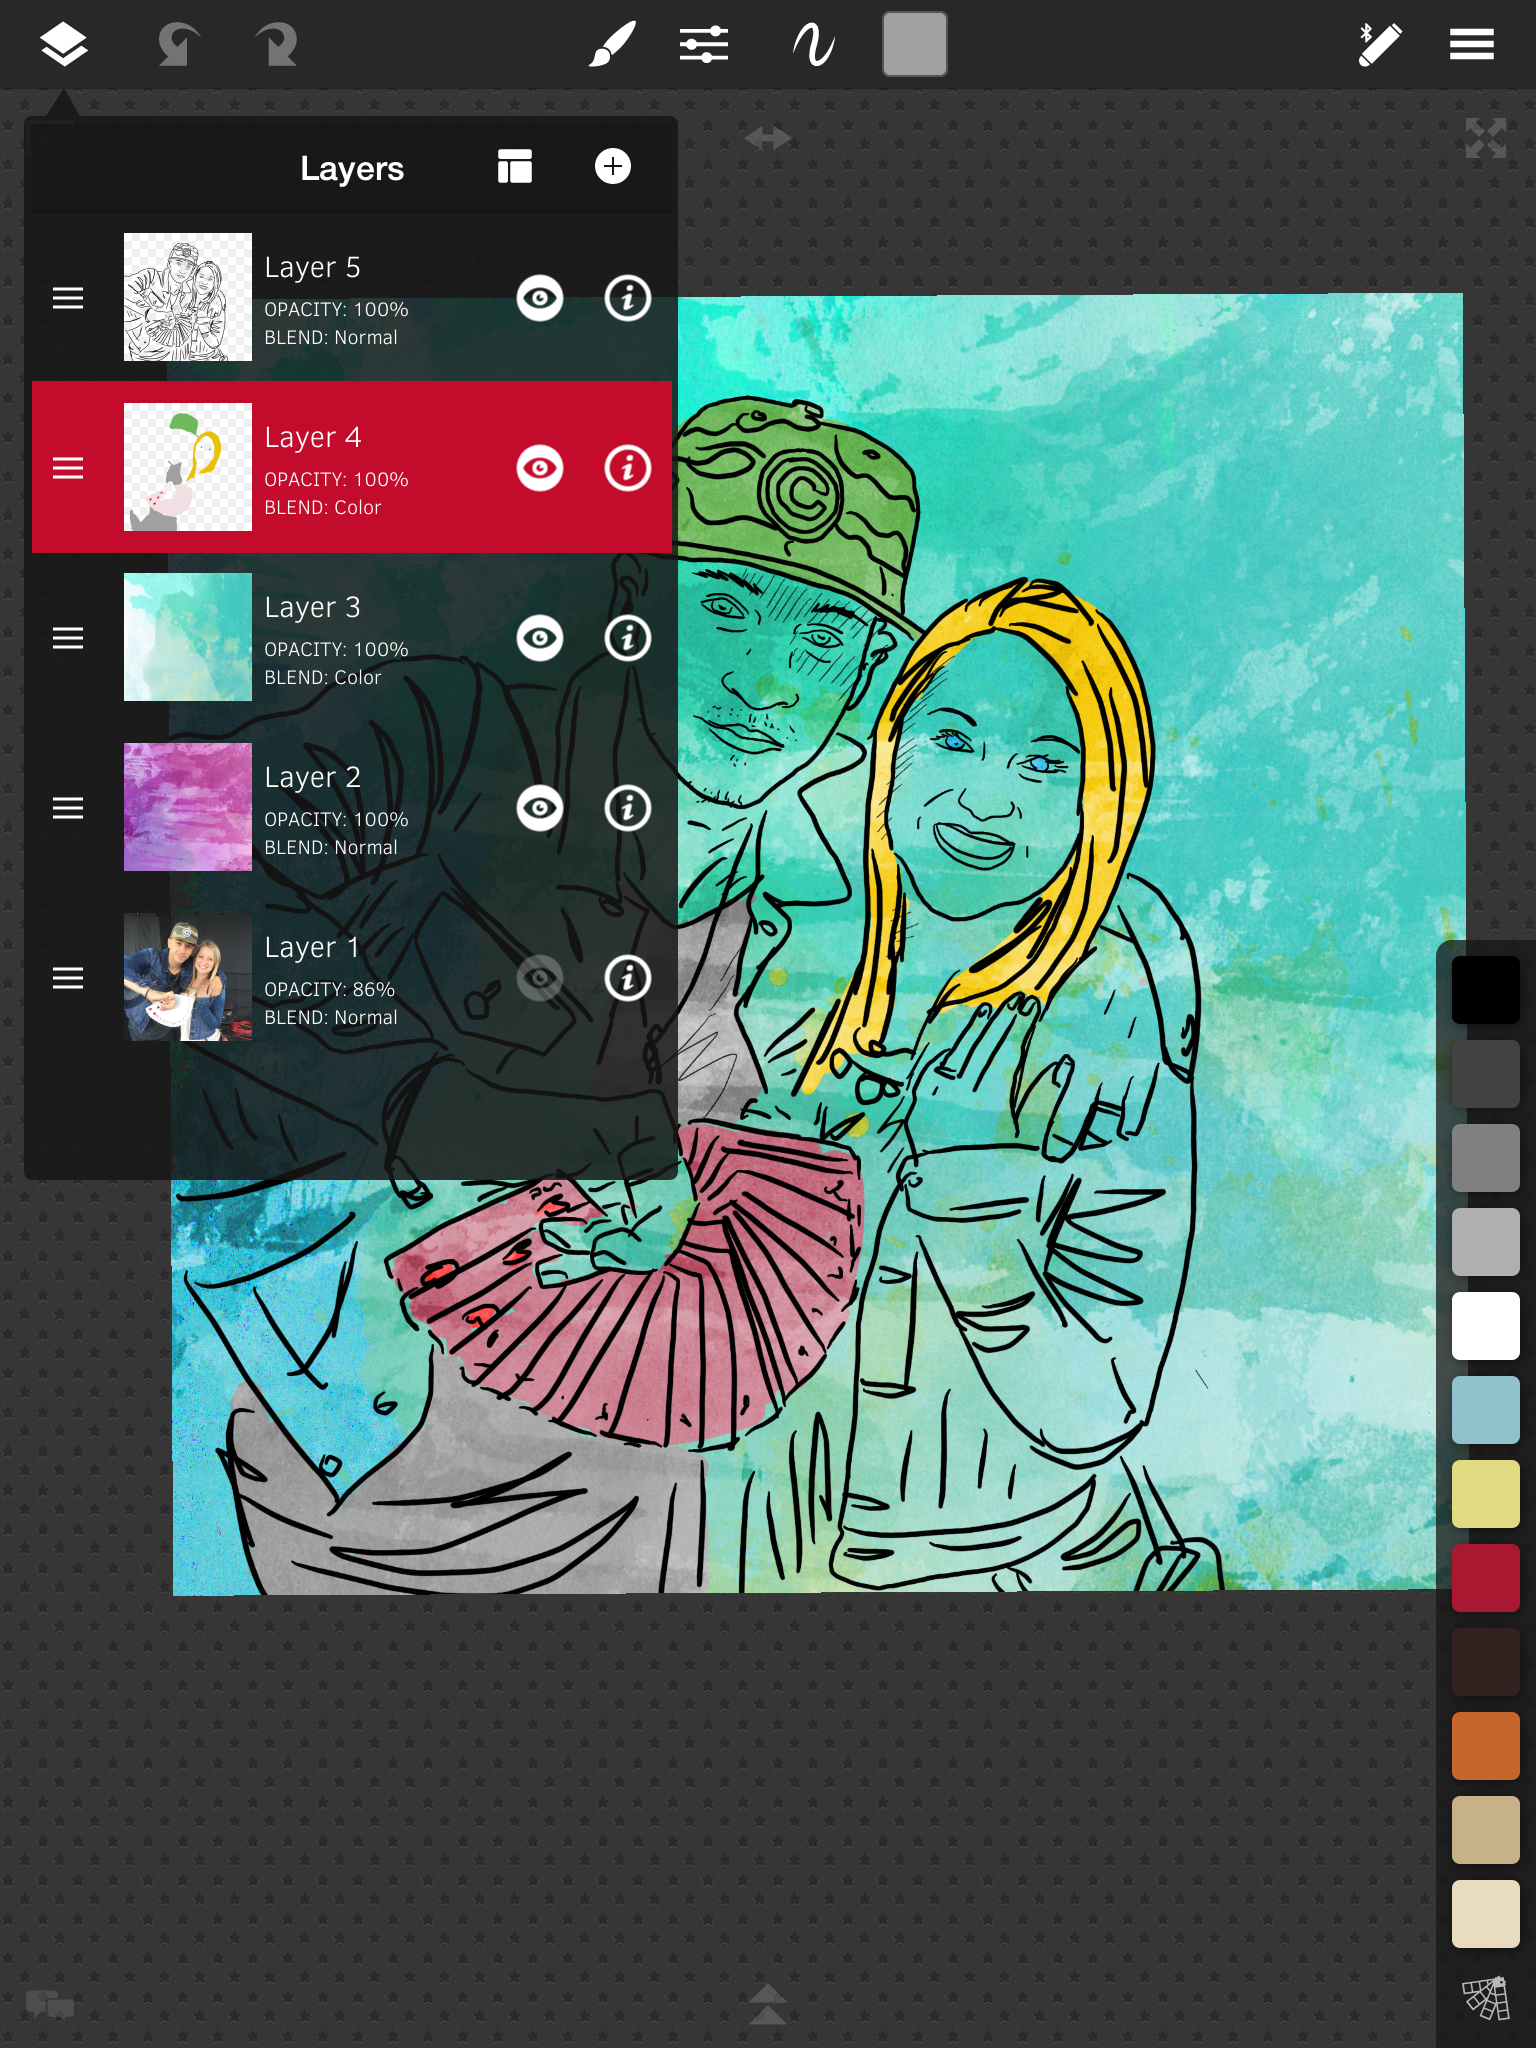
First, I took a photo with my iPad for reference. Then I loaded the photo into the app Sketchclub on a bottom layer. On the top layer, I draw a black line drawing of my subjects. I then select spot areas where i paint in some color on the layer below the line drawing. Next I import some textures and play with the layer modes until I get a desired effect.
Once complete, I export and sometimes import into Picfx or Snapseed to add a bit more texture, a vignette, or some other subtle effect.
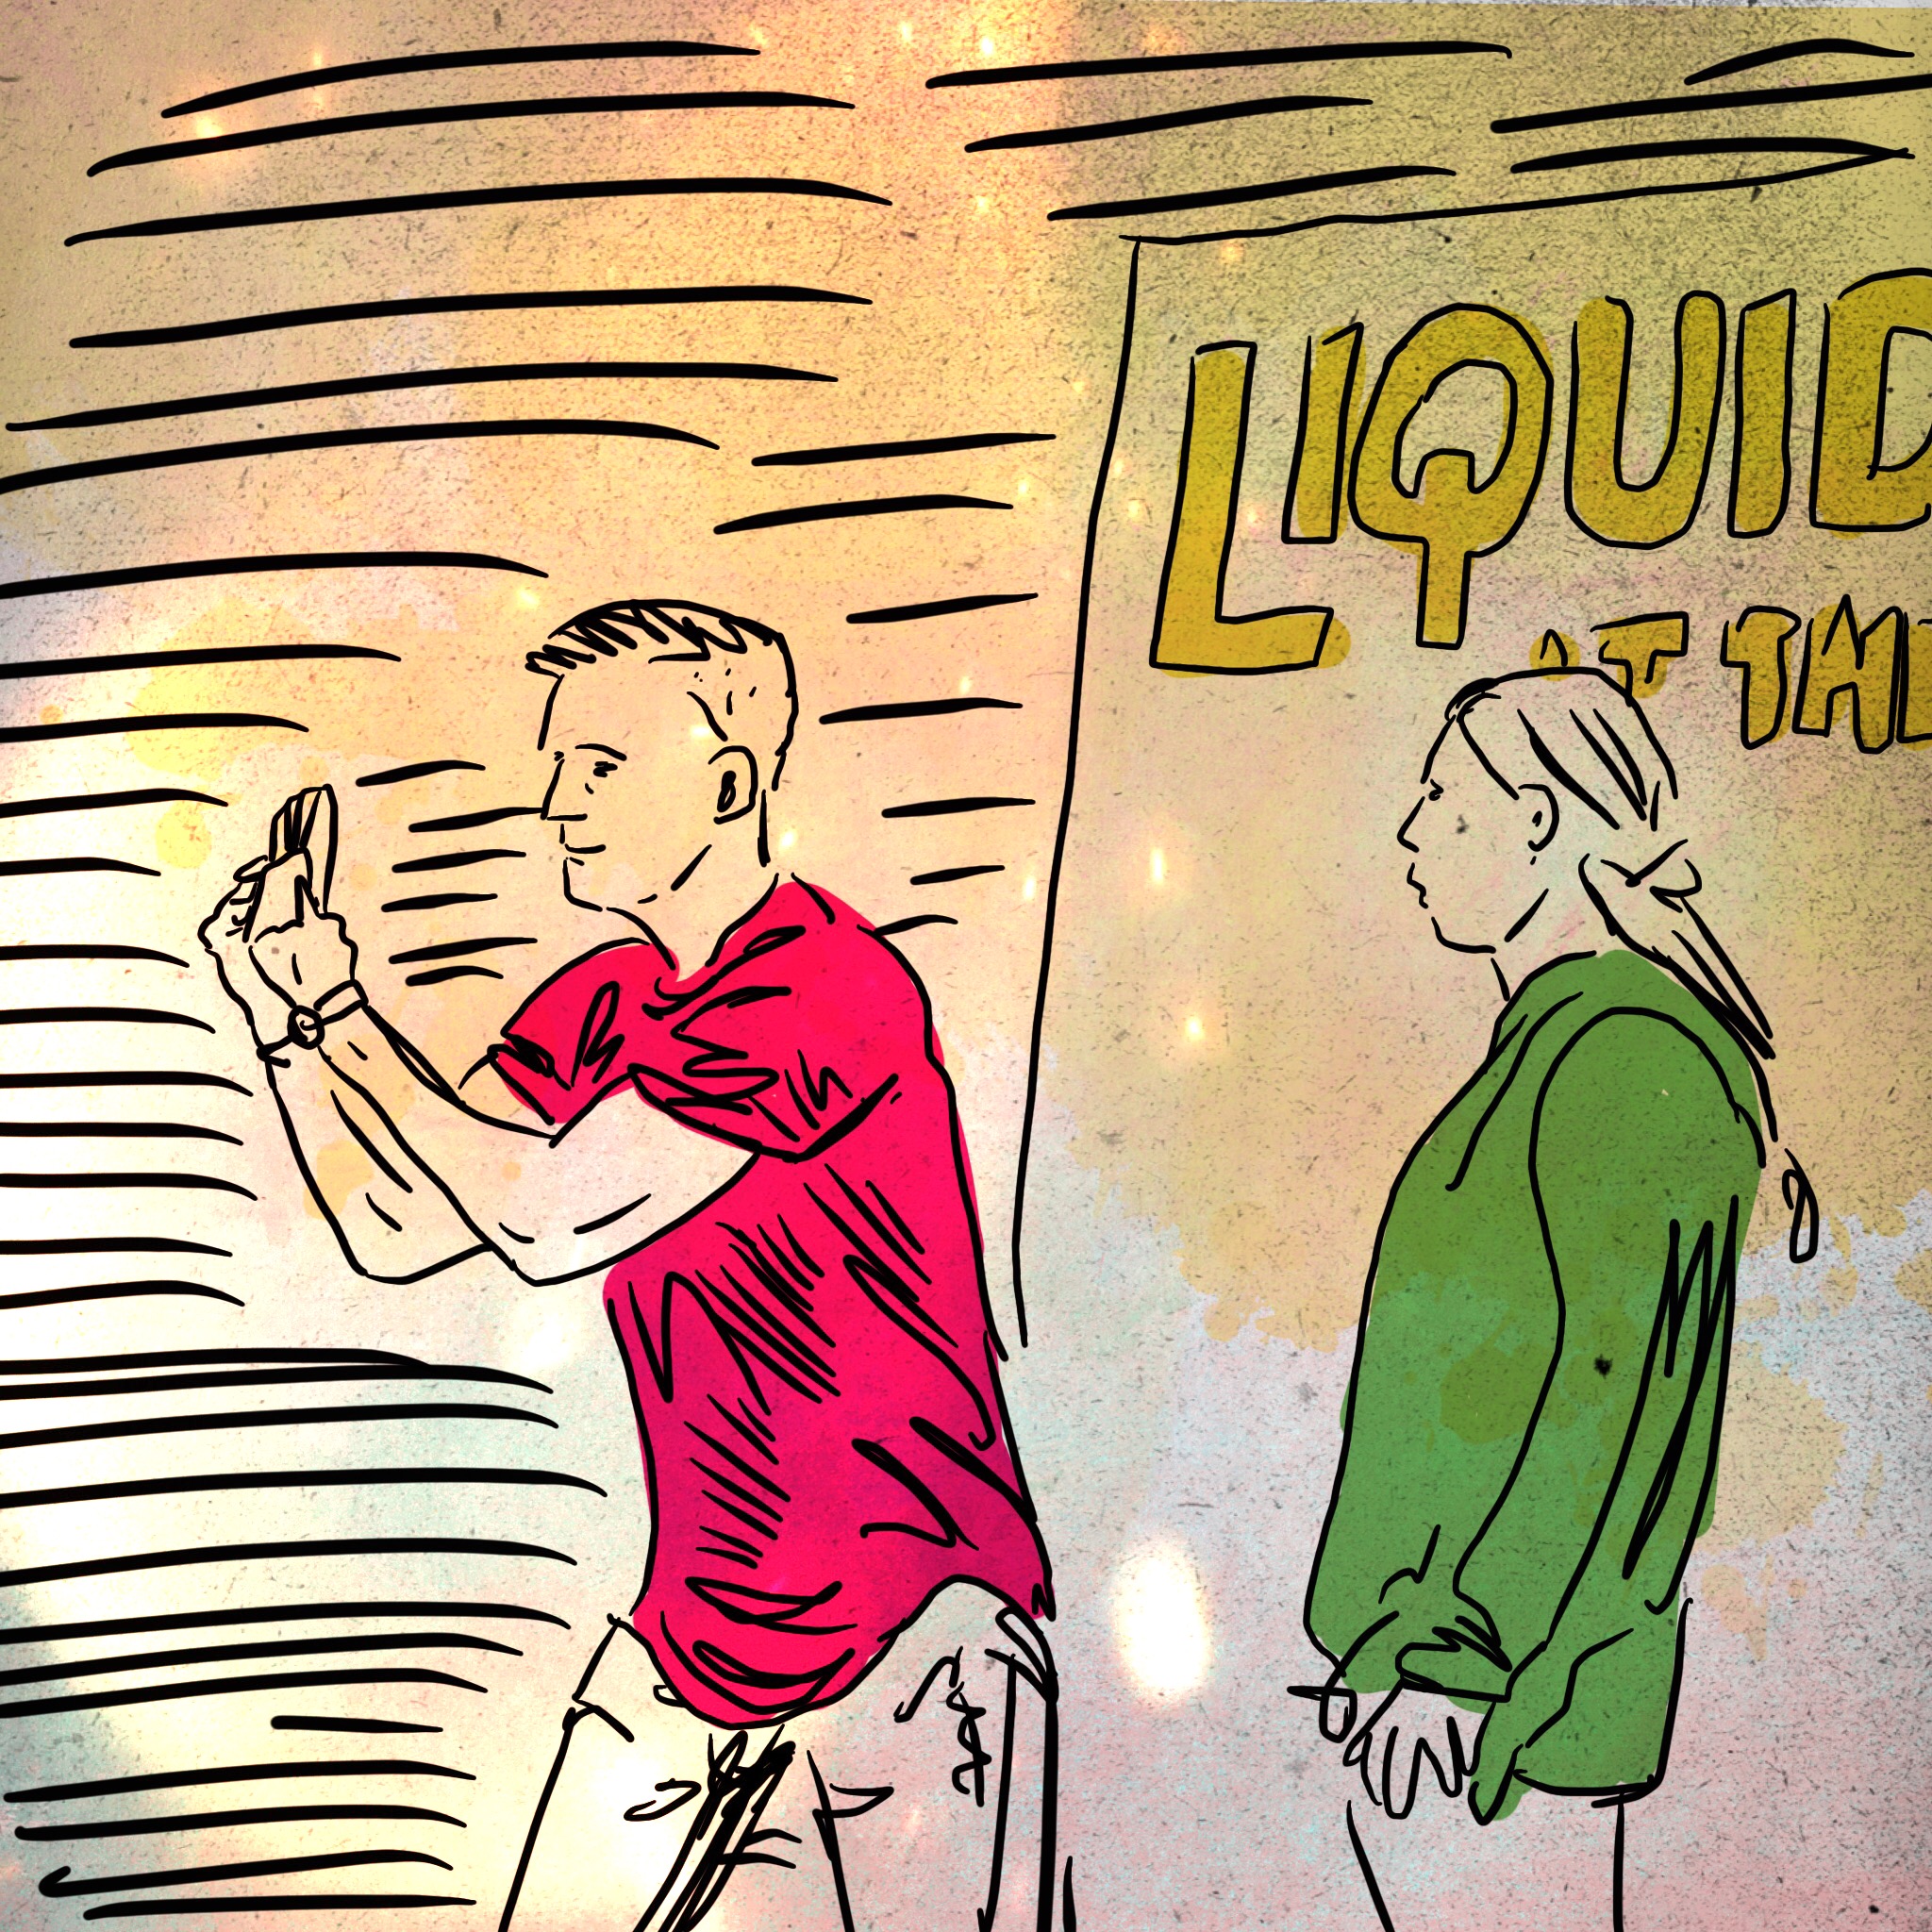
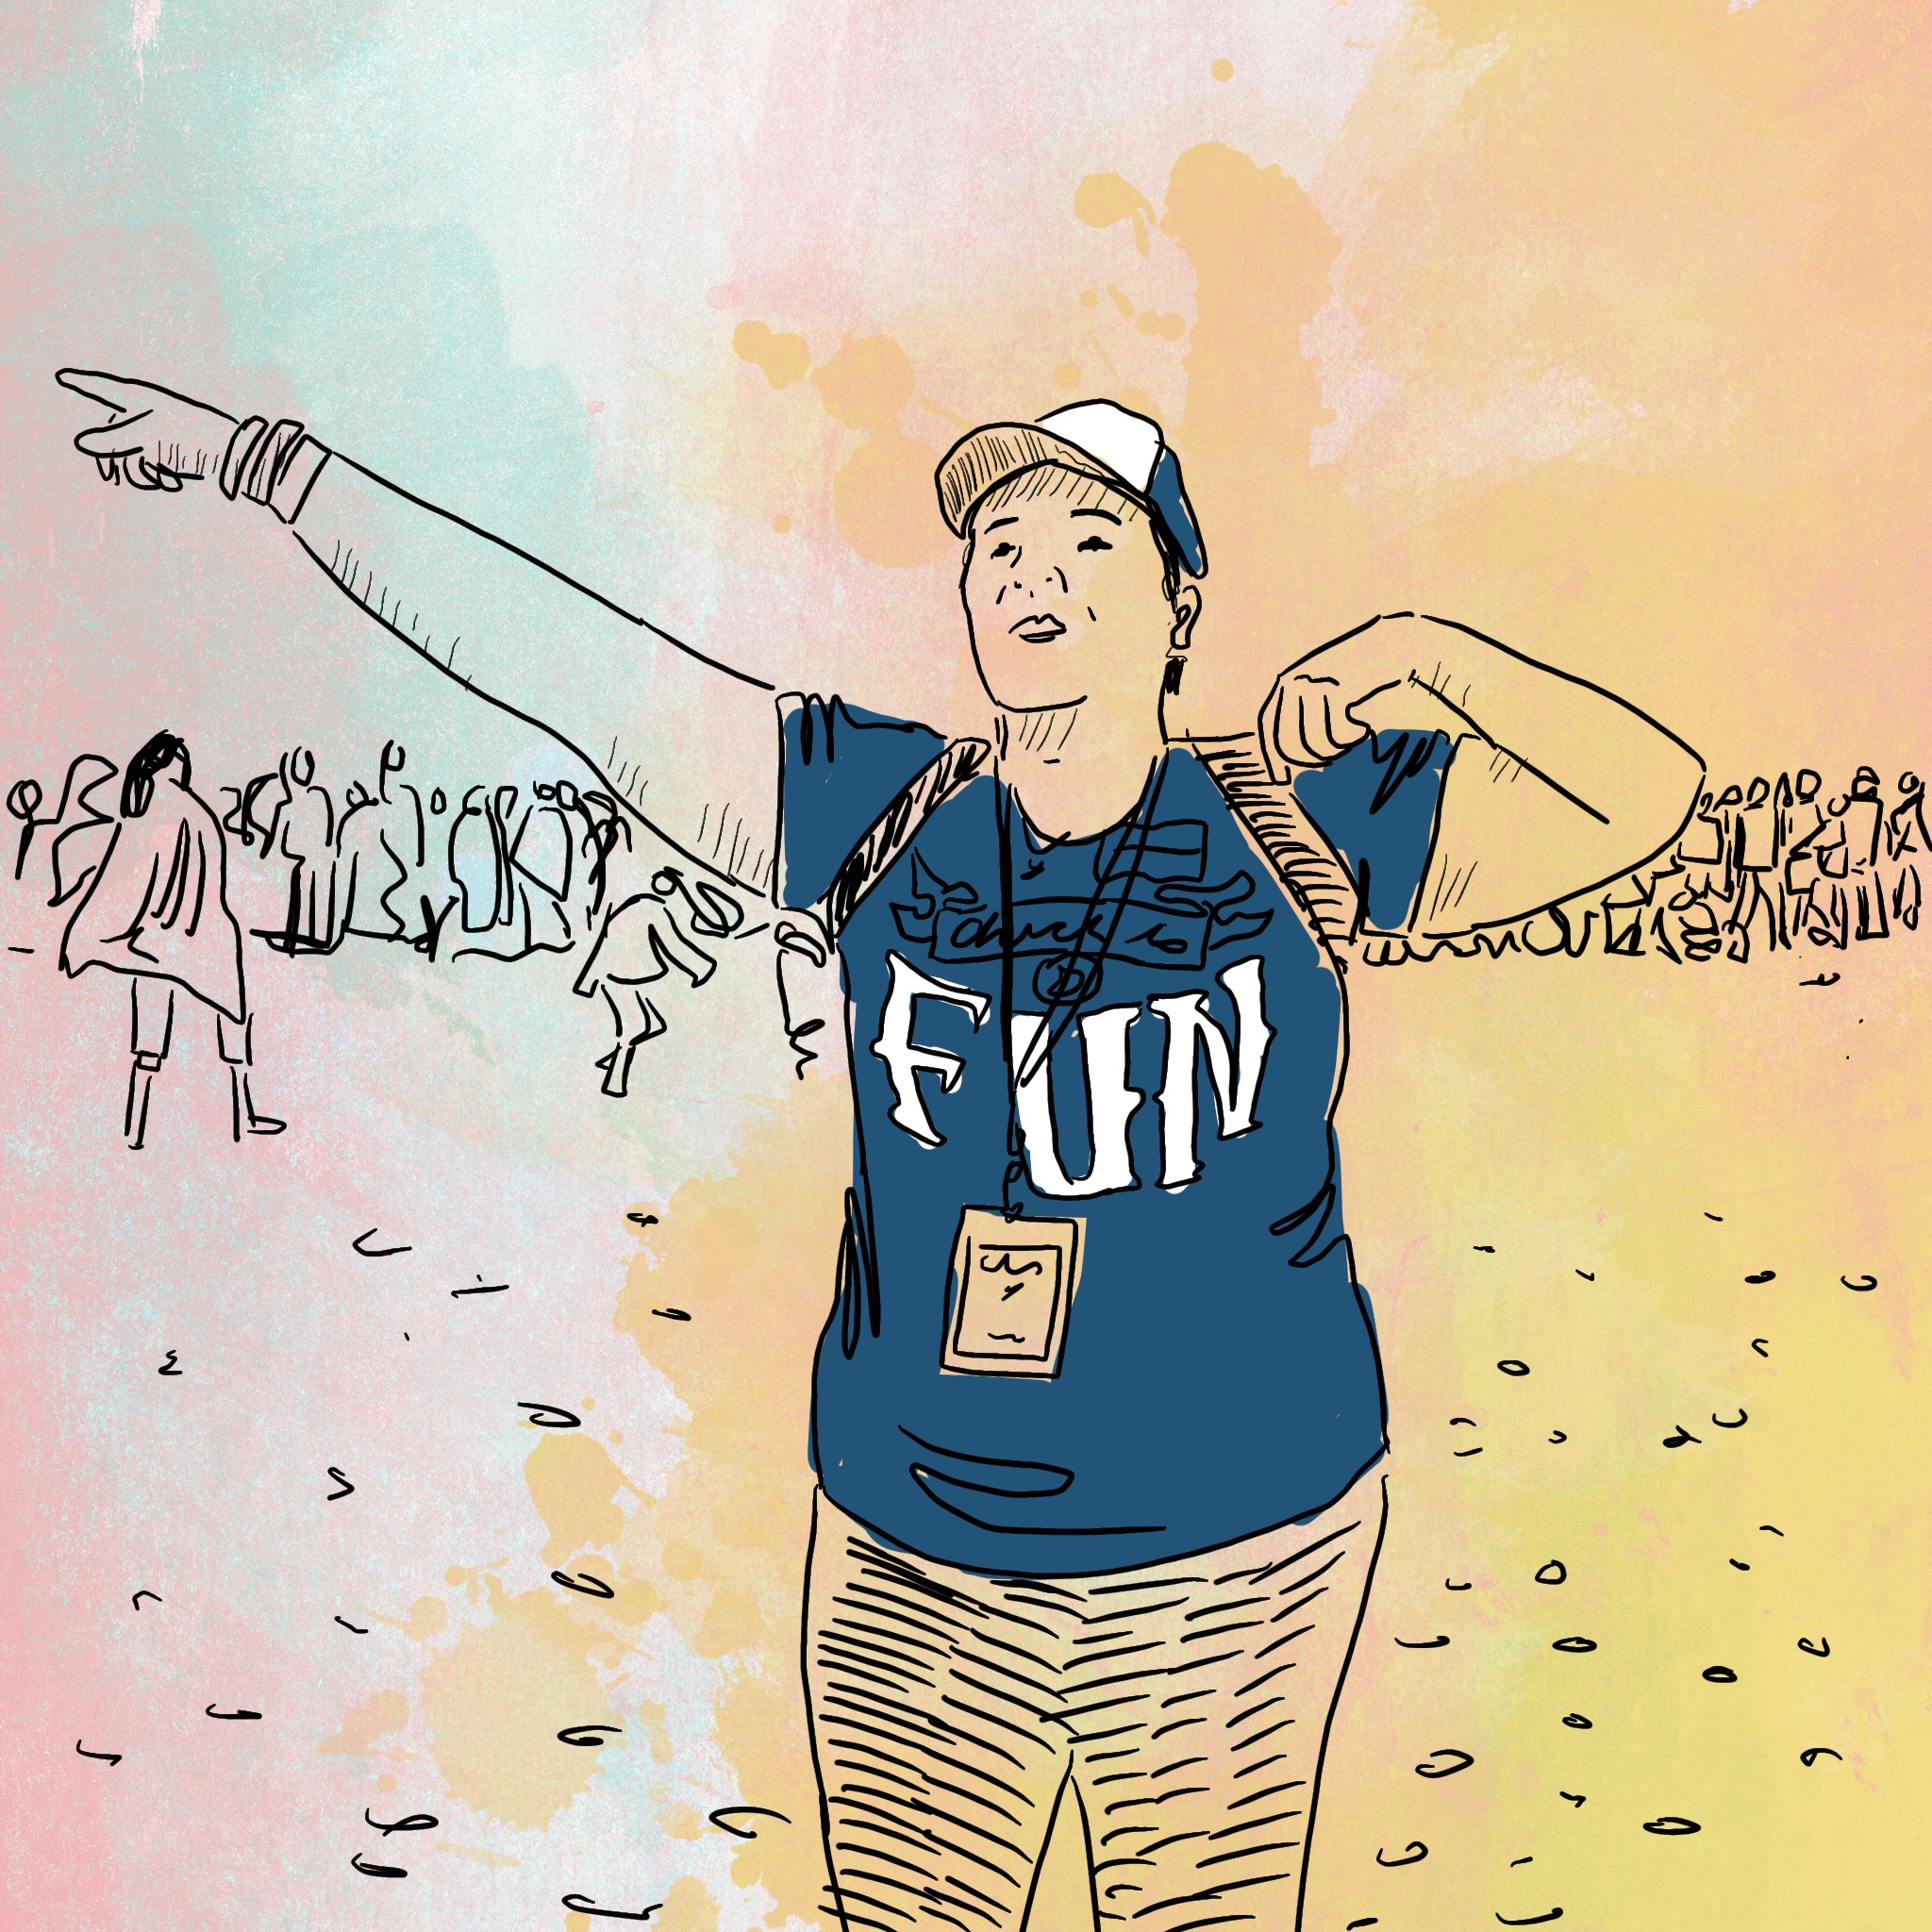
Being that I had a lot to capture and draw on the spot, and uploading to social media as I went as well, I had to keep thing real loose and quick. Each drawing took about 20 minutes form snapping a photo to uploading to social media.
It was a fun way to capture moments of the day. For an extra level of fun, it's always nice to tag people in the drawing when posting on social media.